Who this is for
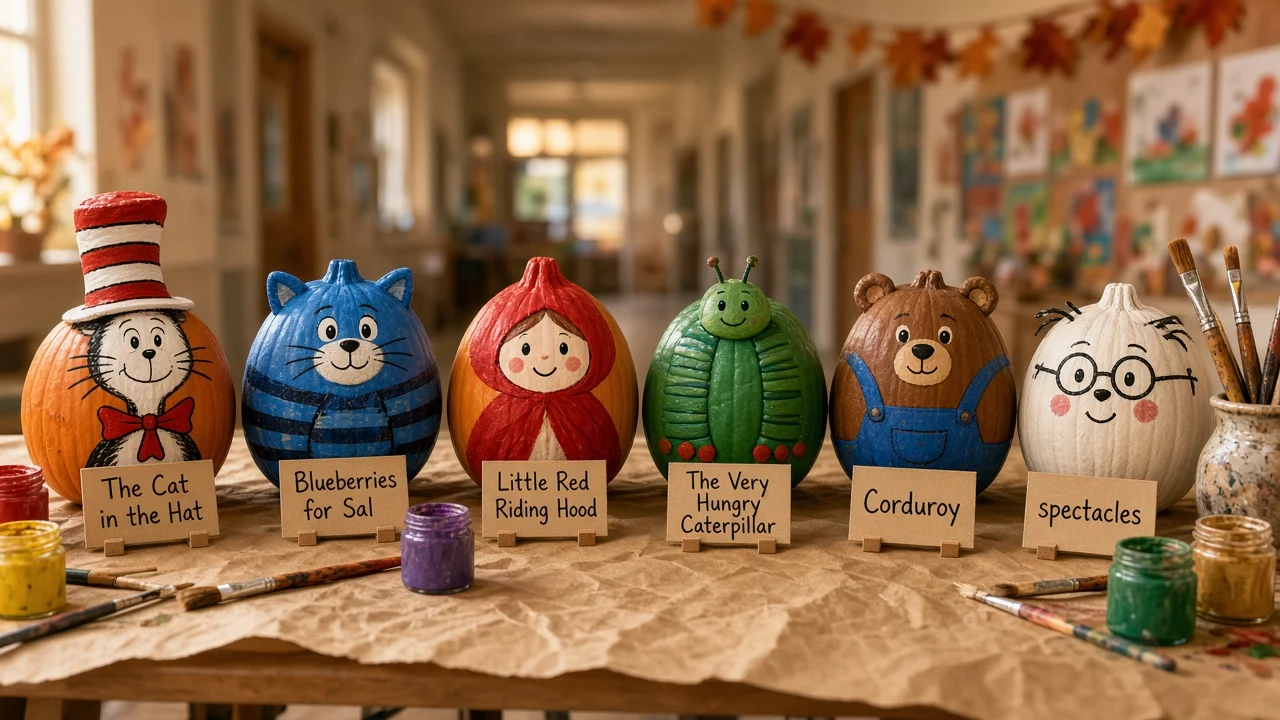
Book character pumpkins are painted picture-book faces on a gourd—simple shapes, bold colors, and a title card in front.
This walkthrough stays paint-first so kindergarten and living-room tables use the same steps.
Step 1 — Assign the book before the brush
Write the title on an index card. Pick one bold silhouette kids can see from the hall: stripes, a hood, glasses, or a single prop.
For groups, sign out unique books first so you do not paint ten identical wizards.
- Ages 3–5: two colors max plus black marker details
- Ages 6–8: add a foam collar, hat, or button
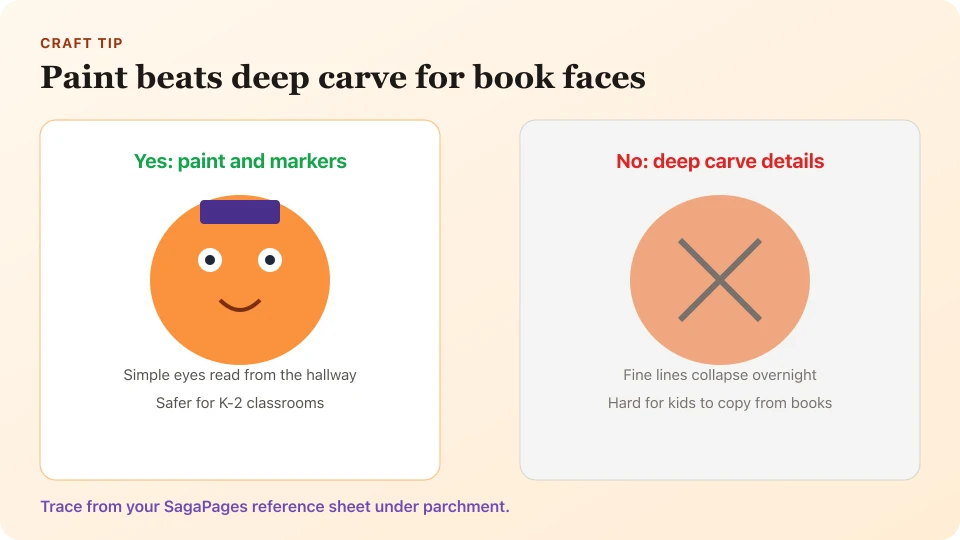
- Avoid ultra-thin lines that carving tempts you into
Steps 2–4 — Reference, fill, finish
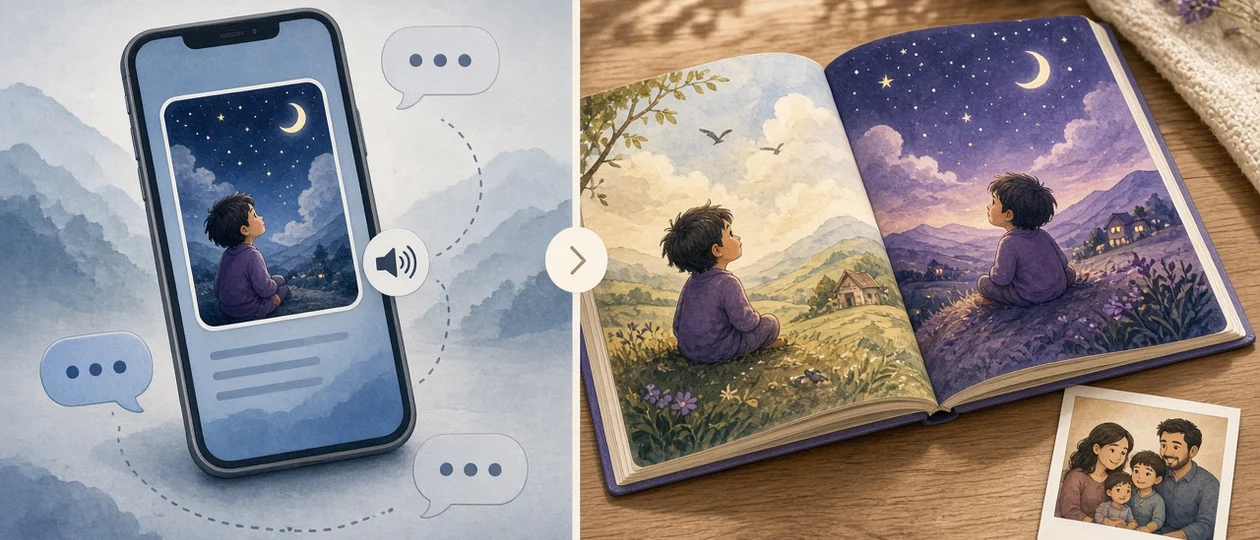
Step 2: tape a printed or on-screen reference at eye level—generate a front-facing storybook portrait in SagaPages if you need a custom hero.
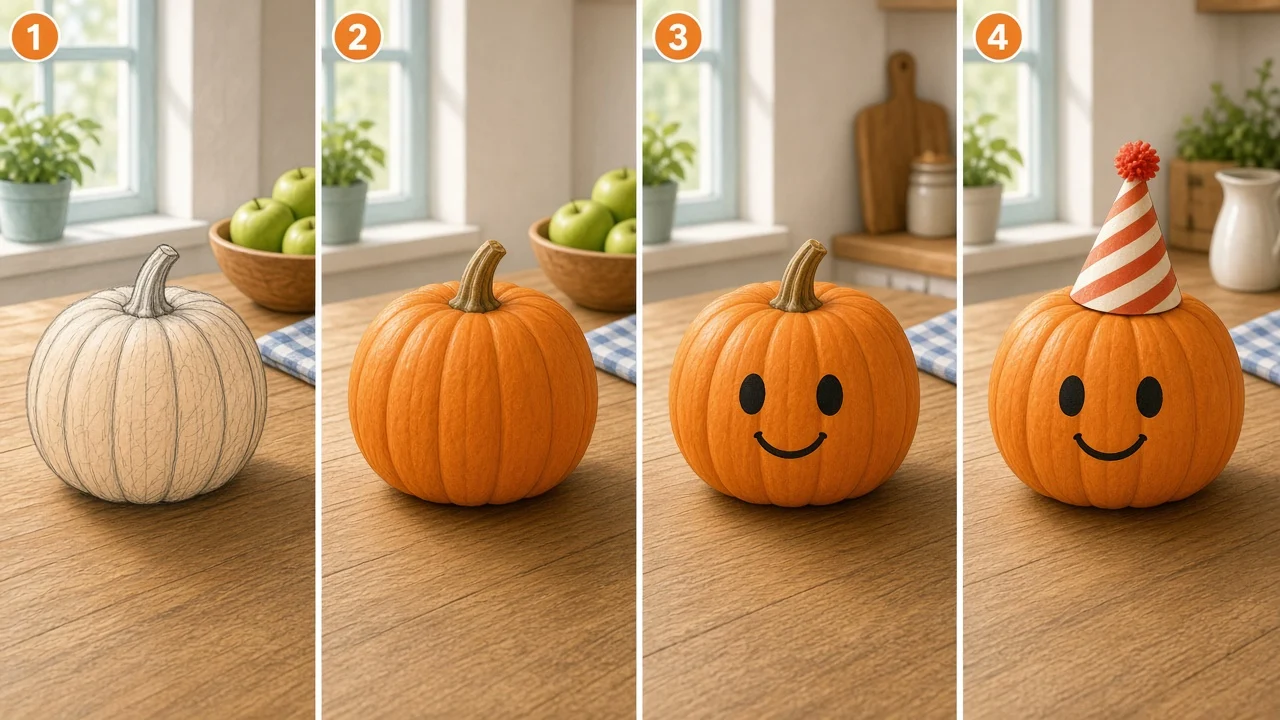
Step 3: pencil big shapes, acrylic flat fill, dry between layers.
Step 4: eyes and mouth last; add the title card and optional QR to a class digital book.
Paint vs carve for story faces
Picture-book eyes are large and flat. Deep carving collapses those shapes and adds knife risk in K-2 rooms.
If you need glow, use a small LED behind a wide mouth cutout—not thin carved stripes.
After paint dries
Read the real book aloud, then line pumpkins in a storybook pumpkin patch with title cards.
Teachers: see classroom pumpkin patch ideas for hallway setup, or open the class pumpkin patch starter when you want eight beats prefilled. The full pumpkin guide ties crafts and costumes together.